CLICK THE TABS BELOW FOR DIFFERENT ARTICLES
Installing The Grounding Hardware
IMPORTANT – READ FIRST! FASTER BETTER EASIER, LLC, THE MAKERS OF THE DUSTOPPER®, ARE NOT LIABLE FOR ANY DAMAGE AND/OR INJURIES THAT MAY OCCUR FROM IMPROPER GROUNDING OR STATIC DISCHARGE. IT IS THE USER’S RESPONSIBILITY TO ENSURE THEIR DUSTOPPER® SYSTEM IS PROPERLY GROUNDED TO THE GROUND LUG INCLUDED WITH THEIR PURCHASE.
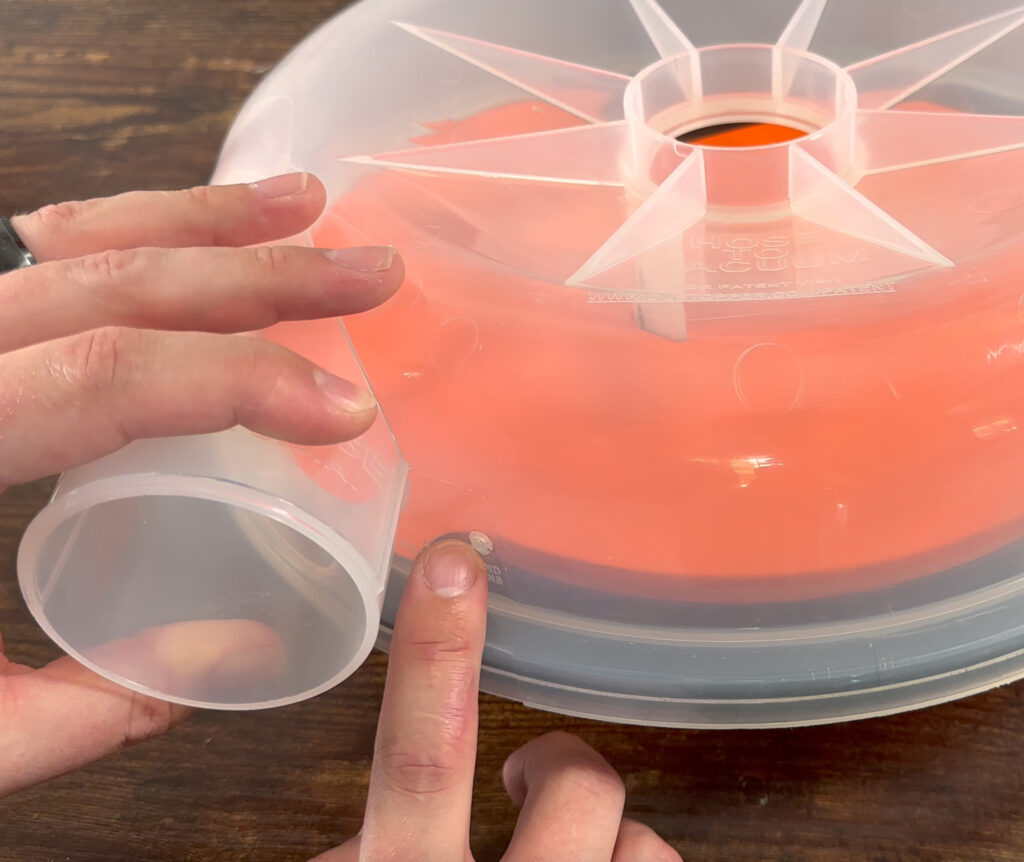
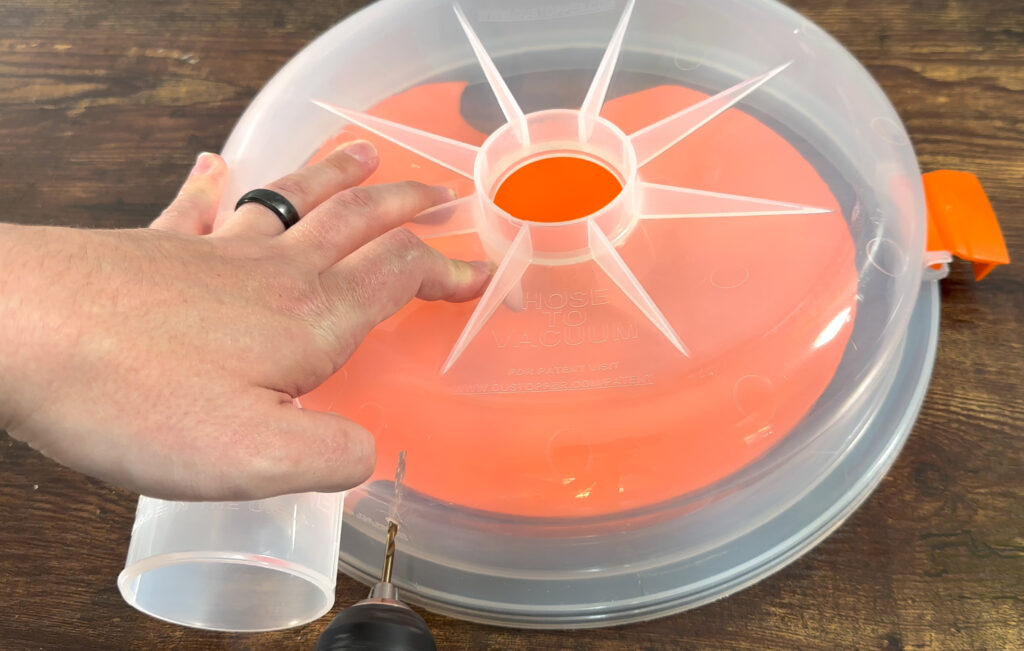
1. Find the ground location on your Dustopper PRO and drill a hole for a #6 screw using a 3/32″ twist drill bit.
2. Remove the black screw from the separator plate and remove the plate.
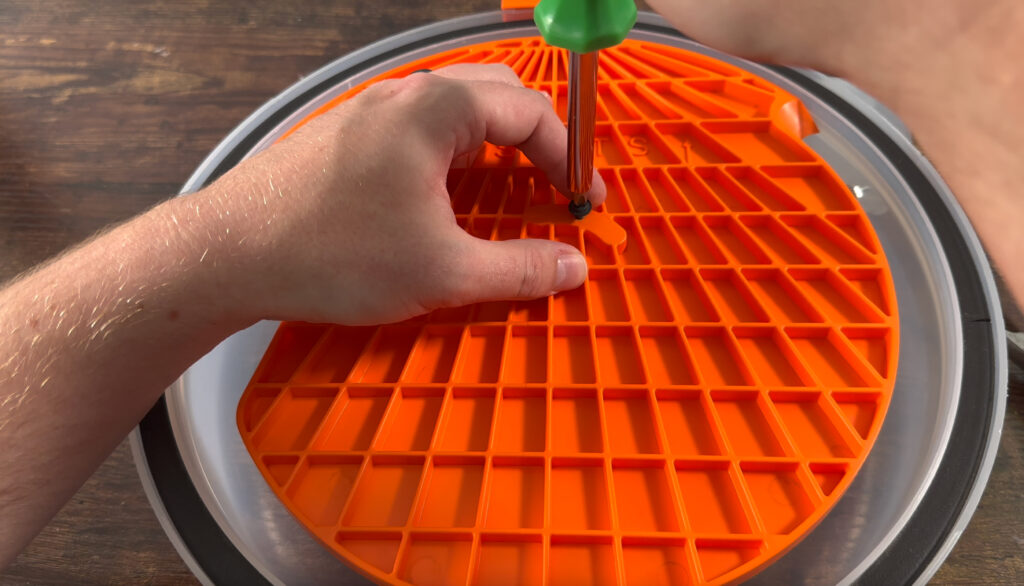
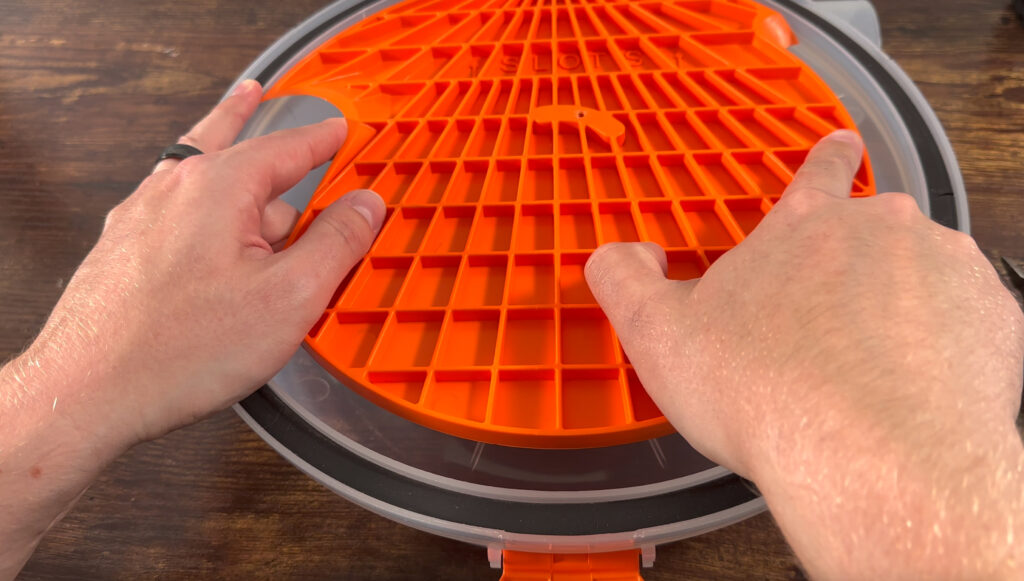
3. Grab the grounding hardware kit from the box: Insert the 6-32 x 5/8 screw through the drilled hole
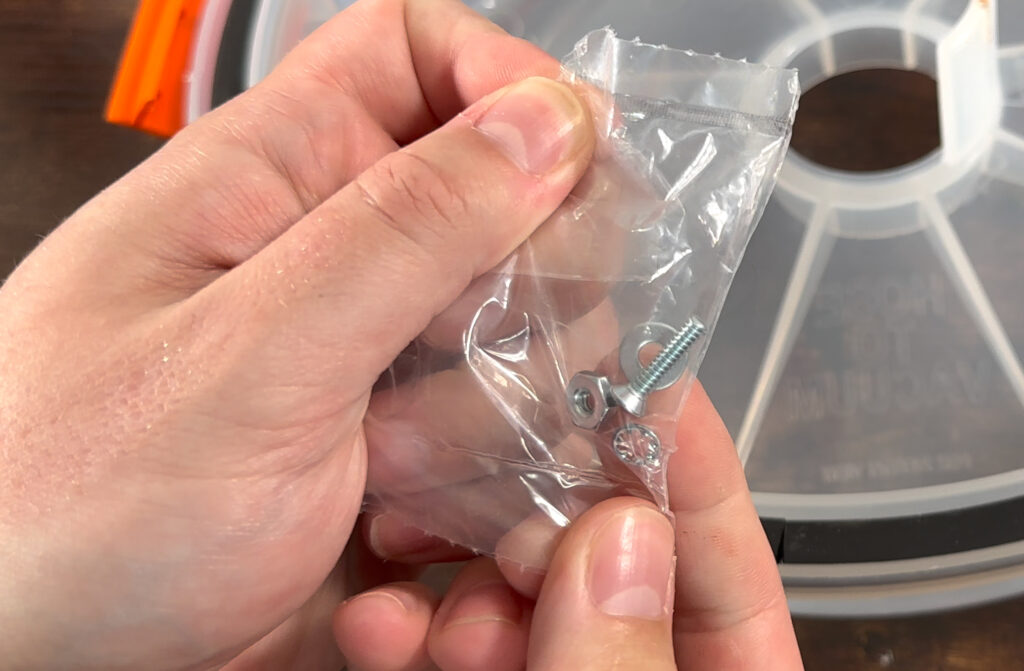
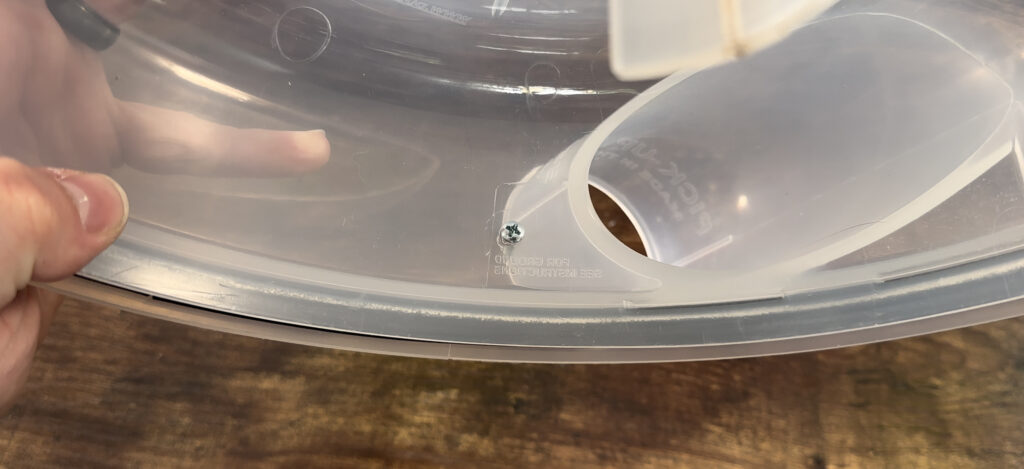
4. In this order: Slide on the #6 internal tooth locking washer, the #6 flat washer, and tighten the 6-32 hex nut.
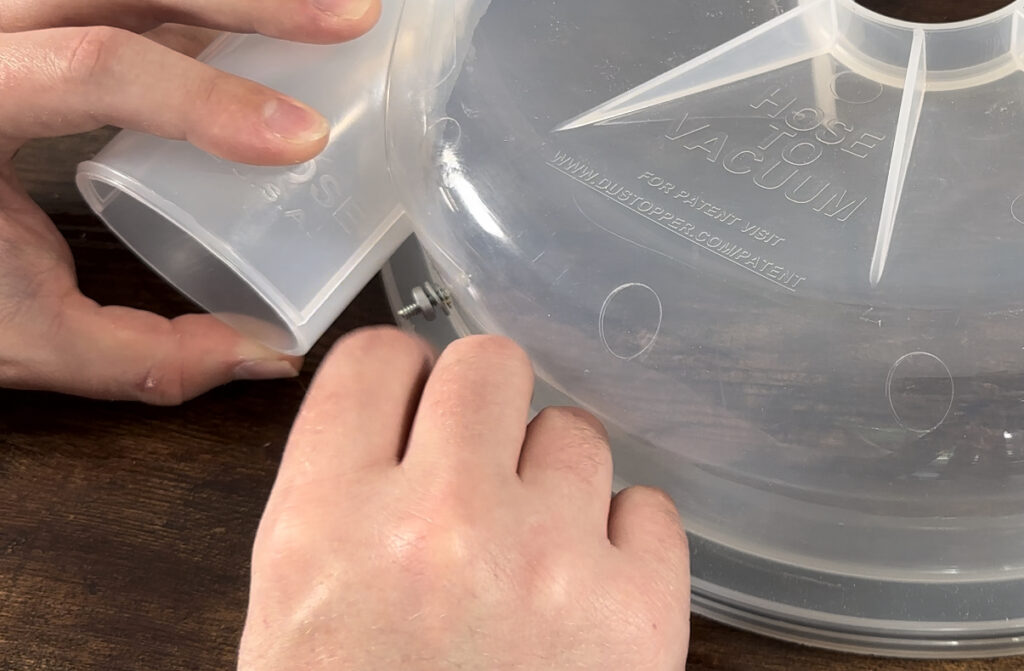
5. Finish tightening the nut onto the screw. NOTE: Do not over tighten the screw and nut, this could crack the dome.
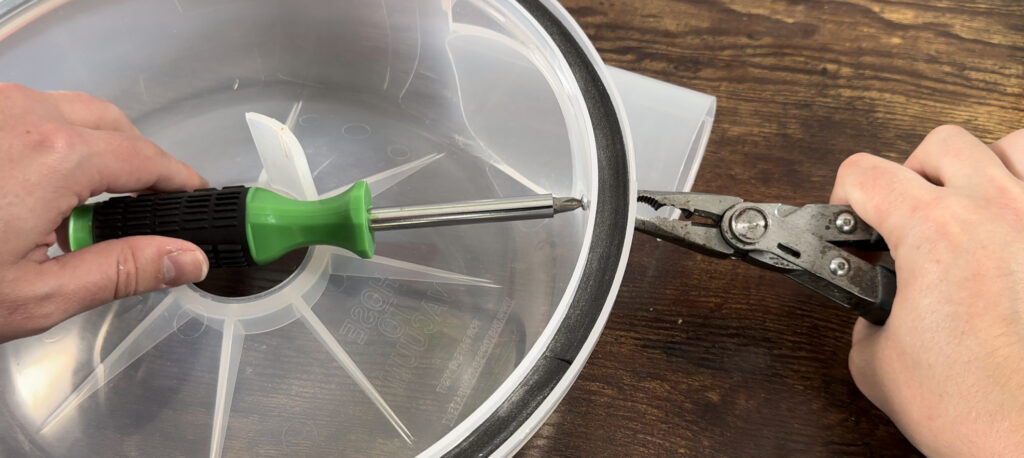
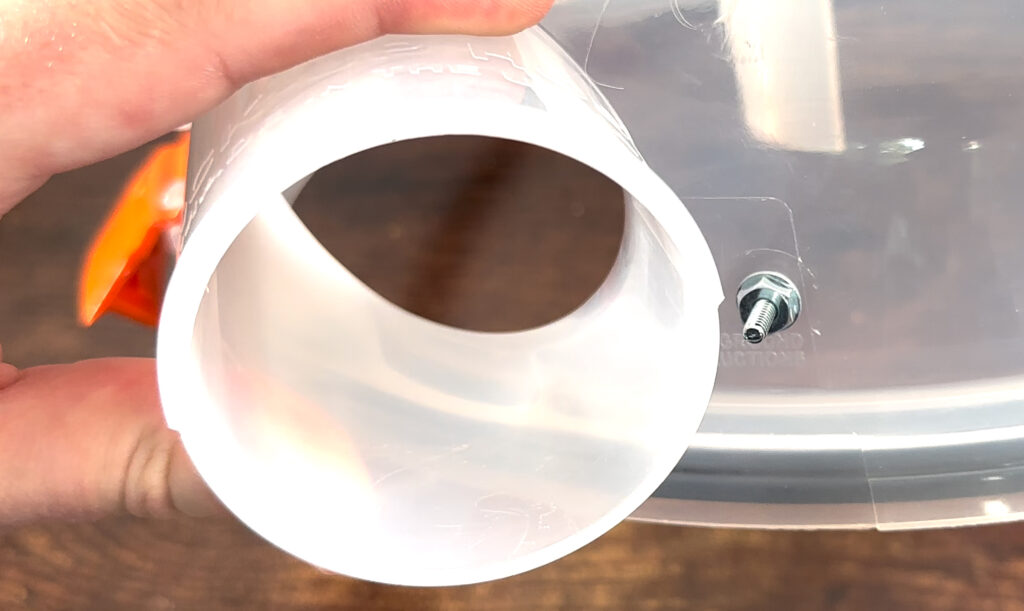
6. Put the separator plate back in place and tighten the black screw.
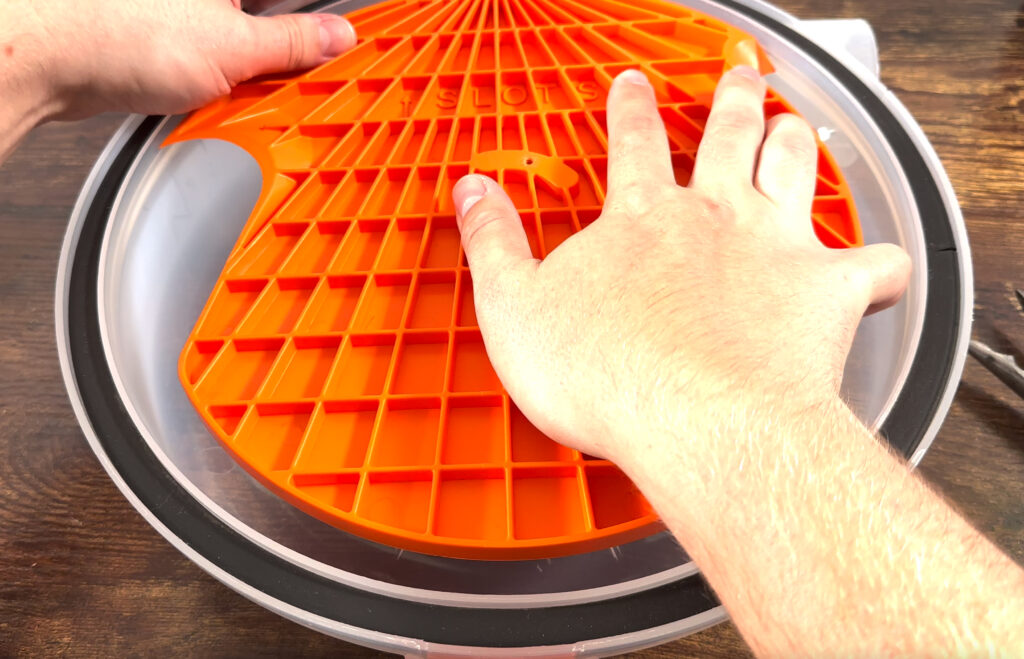
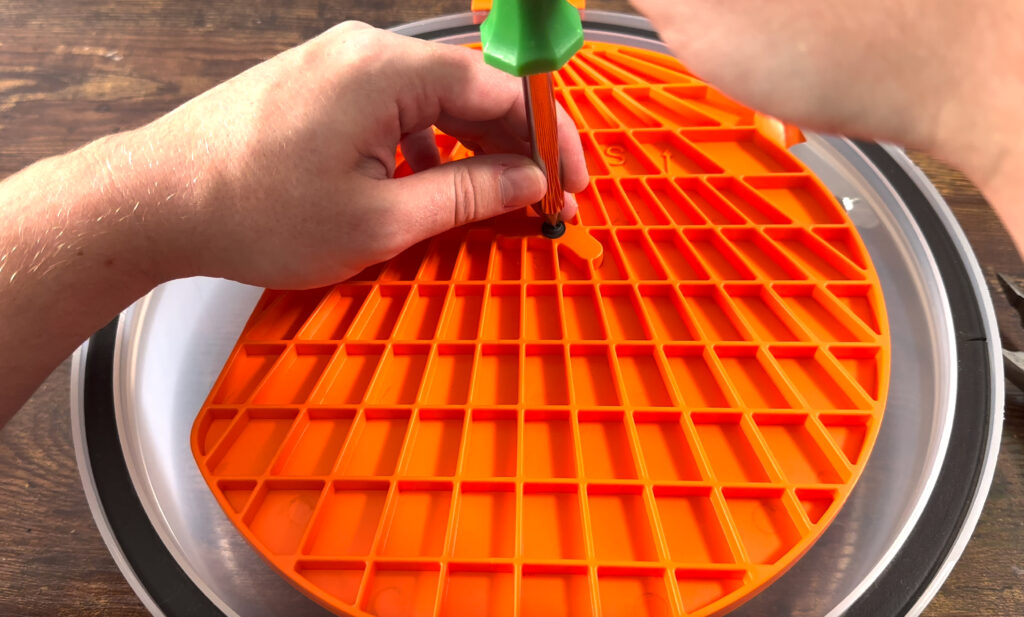
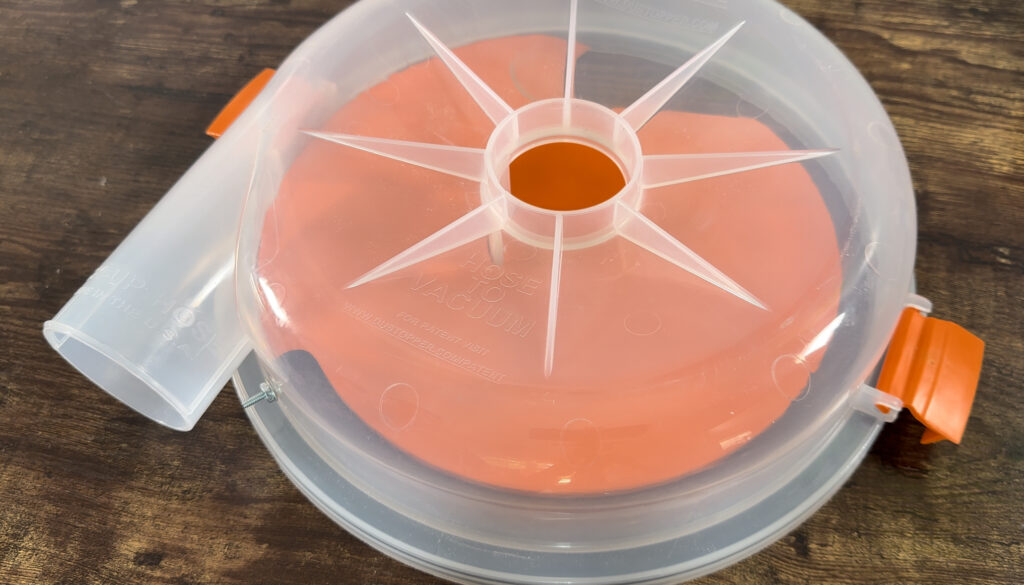
Check your work and now you have a grounding lug for your Dustopper PRO!
For more technical questions or general question, contact us at service@dustopper.com.
Creating A Grounding Wire
IMPORTANT – READ FIRST! FASTER BETTER EASIER, LLC, THE MAKERS OF THE DUSTOPPER®, ARE NOT LIABLE FOR ANY DAMAGE AND/OR INJURIES THAT MAY OCCUR FROM IMPROPER GROUNDING OR STATIC DISCHARGE. IT IS THE USER’S RESPONSIBILITY TO ENSURE THEIR DUSTOPPER® SYSTEM IS PROPERLY GROUNDED TO THE GROUND LUG INCLUDED WITH THEIR PURCHASE. THESE INSTRUCTIONS ARE MEANT TO GUIDE YOU THROUGH THE CREATION OF A GROUNDING WIRE. READ ALL AND UNDERSTAND ALL MANUALS AND SAFETY INSTRUCTIONS WITH EACH PART USED IN THE INSTRUCTIONS BELOW.
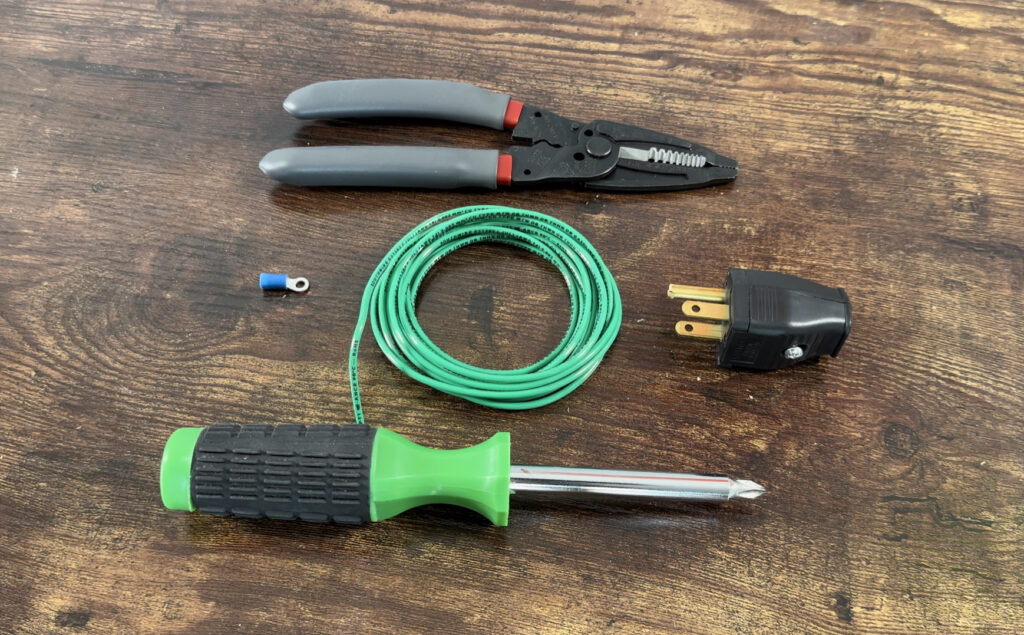
1. Items needed: 14 AWG Stranded or Solid Wire, A 3-Wire Grounding Plug, 16-14 AWG Ring Terminal, A Screw Driver, and A Wire Stripper & Crimper
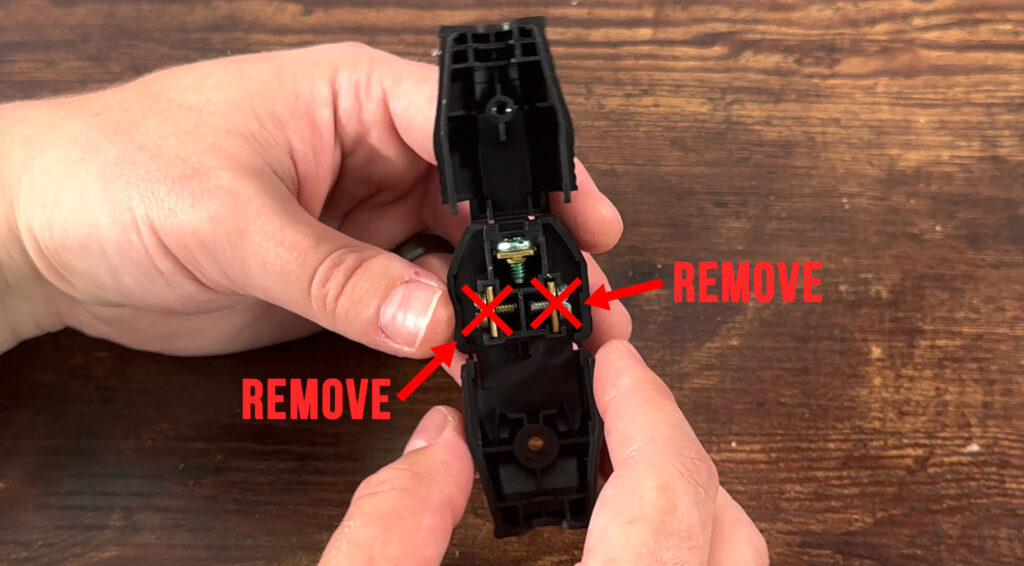
2. For the plug: Use only the green grounding screw and rod. To be safe: Remove the hot and neutral screws and prongs.
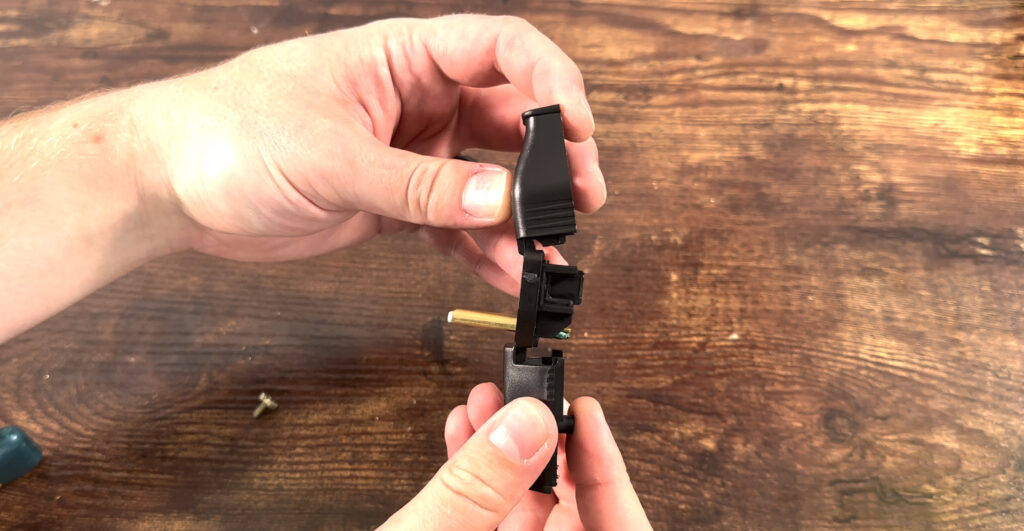
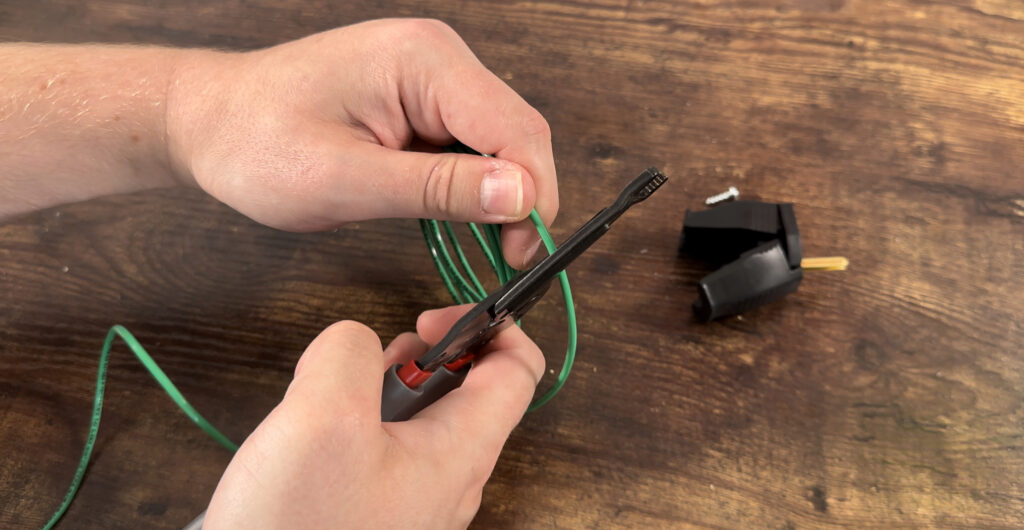
3. Cut 4-6 feet of wire and strip both ends to the proper lengths for the terminal and plug.
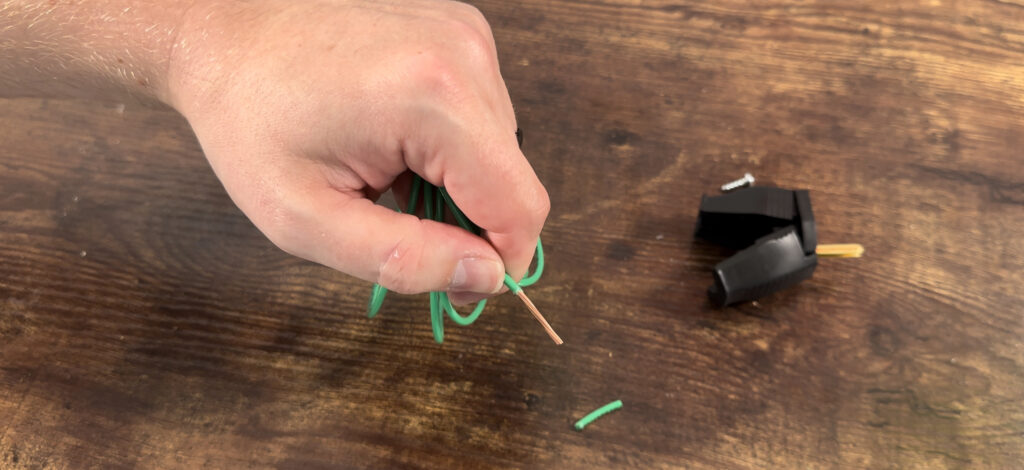
4. Twist the wire ends if using stranded wire. For the Terminal: Insert wire and crimp the end.
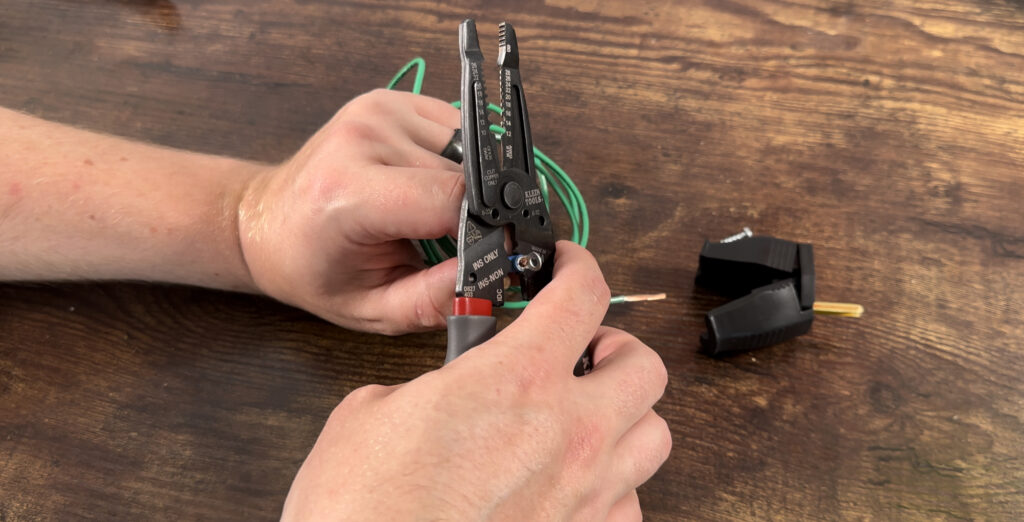
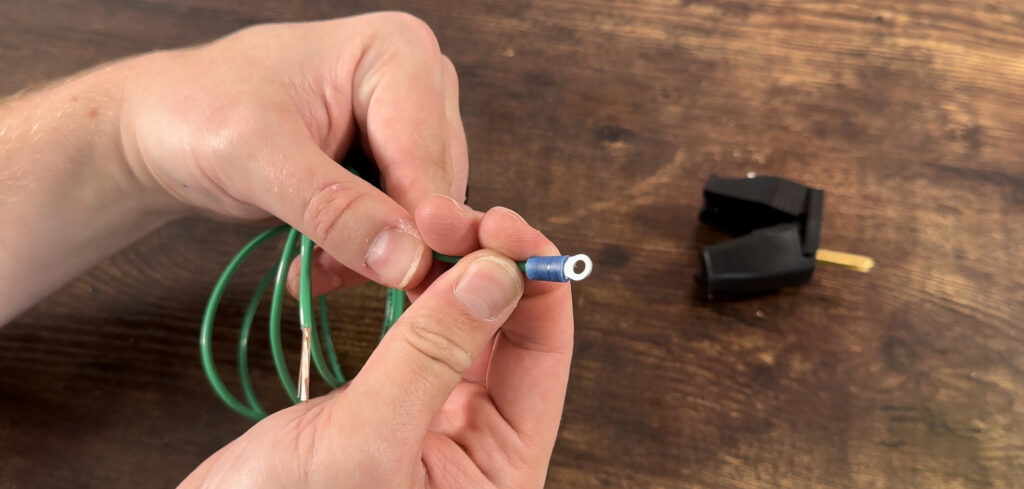
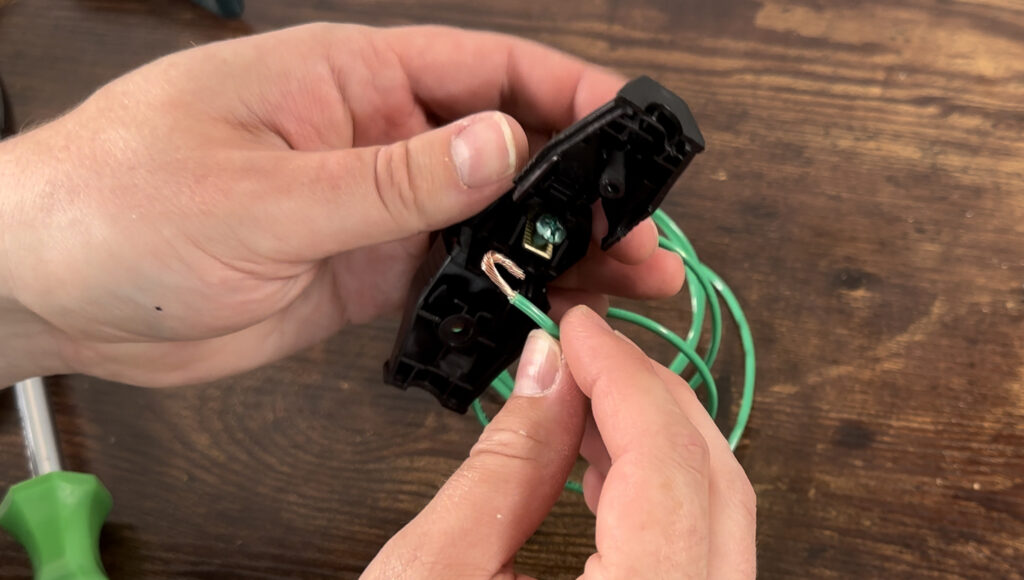
5. Hook the wire end and loop it to the grounding screw. Tighten screw and finish closing the plug.
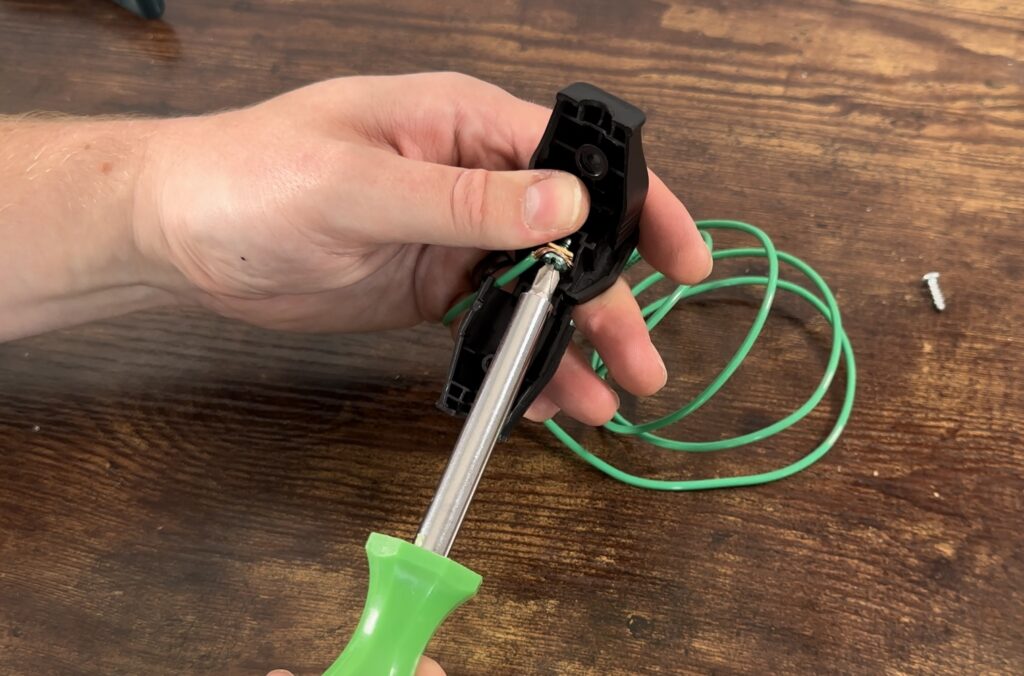
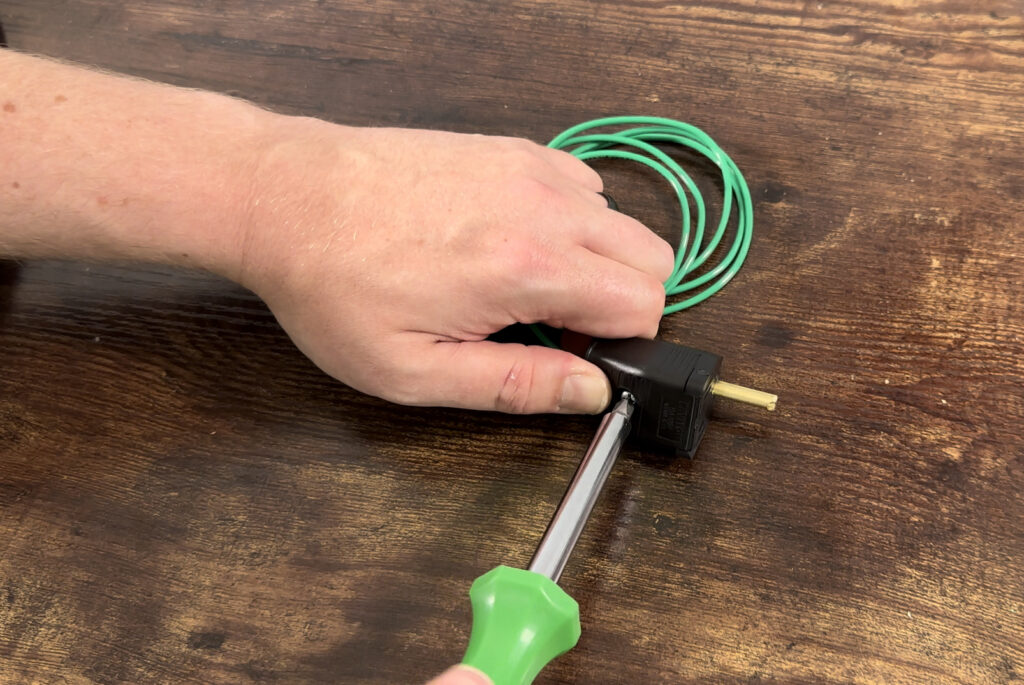
6. Connect the terminal to the Dustopper PRO between the nut and washer. Tighten the nut.
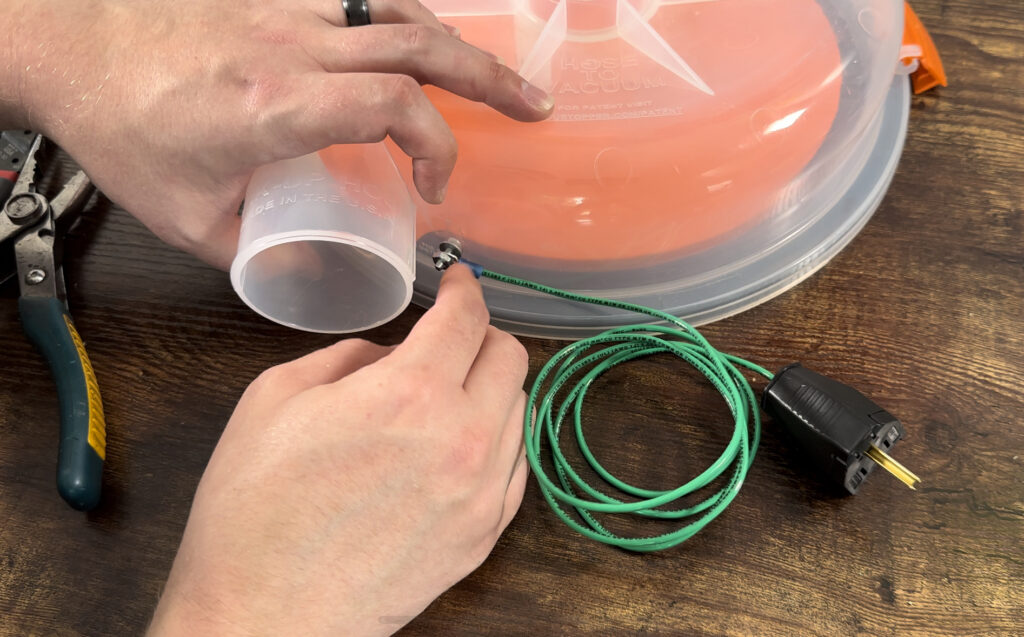
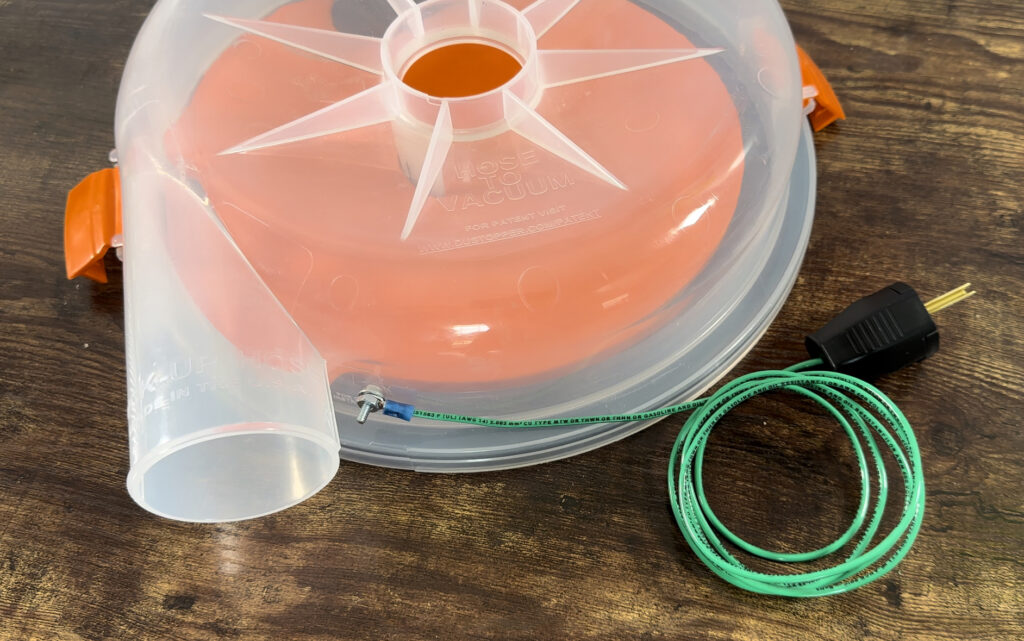
7. When using Dustopper PRO: Plug the grounding rod into the ground of a cord or outlet.
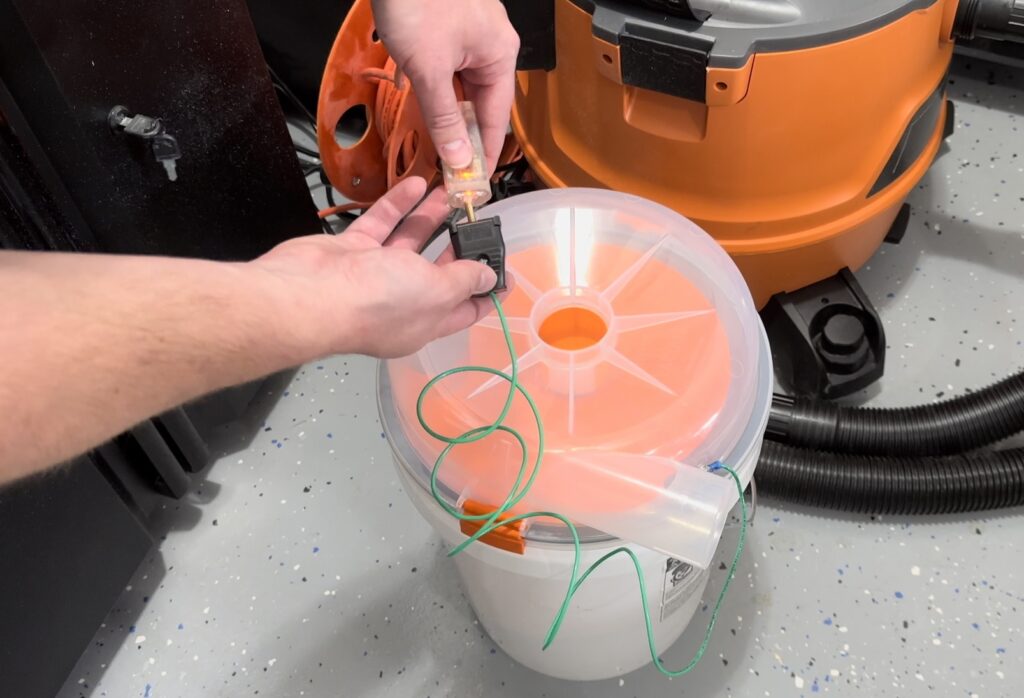
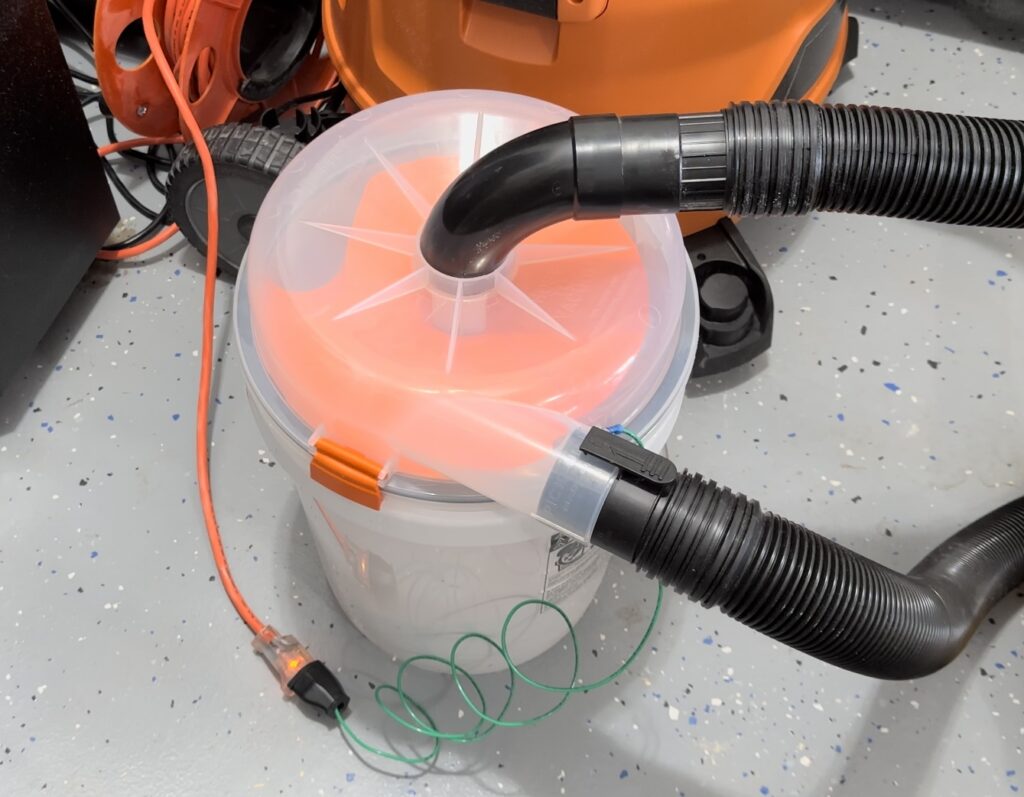
You now have static grounding with your Dustopper PRO! For more technical questions or general questions, contact us at service@dustopper.com.
About Static Grounding
What is Static electricity: Static electricity is an electric charge that has forms into pools of electrons on an insulated body, often due to friction. These electrons will remain static (not moving) until they either dissipate slowly over time, or are quickly carried away by a conductor of electricity, such as a wire, a person, or any material through which electrons can move freely.
When drawn into a vacuum, the air flowing through a plastic hose can cause electricity to form into pools of electrons as a result of the air “rubbing” against the inner wall of the hose. When the hose, its attachments, and other devices in a vacuum system are made of anti-static resins, there will be no measurable static added to the air or other collected matter that enters the hose. It is very important to know that the static electricity which has formed in incoming matter will remain on the surfaces of collected material, dust, etc., unless it comes into contact with a conductor that can provide a pathway to quickly take the electrons somewhere else. This is called a “Static Discharge”. Therefore, the pools of static which have formed on material along its travels to the final collection container will grow to a significant amount of static electricity as the amount of material in the collection bucket grows in volume. Electrical circuits that are used as pathways to quickly remove static electricity before it builds up in the collection container are called a grounding circuit.
Through our research, we learned that static which has formed during dust collection can be removed quickly and efficiently by adding an electrical discharge pathway, or grounding circuit, that starts close to where dust enters the collection container and ends somewhere in the earth, or ground. The grounding lug provided with the Dustopper PRO provides a connection point so the operator can create a grounding circuit by wire connected to another grounded device, or an electrical outlet with a three-pronged receiver. For the safety of the operator and others, we recommend adding a grounding circuit to ALL VACUUMS USED TO COLLECT DUST AND DEBRIS AND MAY FORM STATIC ELECTRICITY WHEN COLLECTED. If there is no grounding circuit provided, a static discharge via some other electrical conductor may be dangerous. Often, the other conductor is the person who is close to or operating the vacuum. These discharges through “other electrical conductors” may cause severe electrical shock to whomever is emptying the collection bucket, or they could occur in the presence of combustible gas or material where it could cause a fire.
0 Comments